EV Charging Connection: Indicators to Check When Starting and Stopping
Published: November 2, 2026 • Reading Time: 7 min • Last Updated: November 2, 2026 • Author: Merve B.
Learn how to read vehicle, connector, and charger indicators when starting or ending an EV charging session, confirm that energy is flowing, and respond safely to an error.
Contents
- What indicators are part of a charging connection?
- Prepare the connection before starting
- Steps to watch when starting a session
- Which readings matter while charging?
- How to end a charging session safely
- If charging does not start or the indicators conflict
- Planning charging for a rental EV
- Final check and next step
- Frequently Asked Questions
When you start or end an electric vehicle charging connection, read the vehicle display, charging unit, and connector indicators together. This guide explains what each one can tell you, how to confirm that charging has actually begun, and how to disconnect safely. Indicator names and light patterns vary by vehicle and charger, so check your vehicle manual before interpreting a symbol.
What indicators are part of a charging connection?
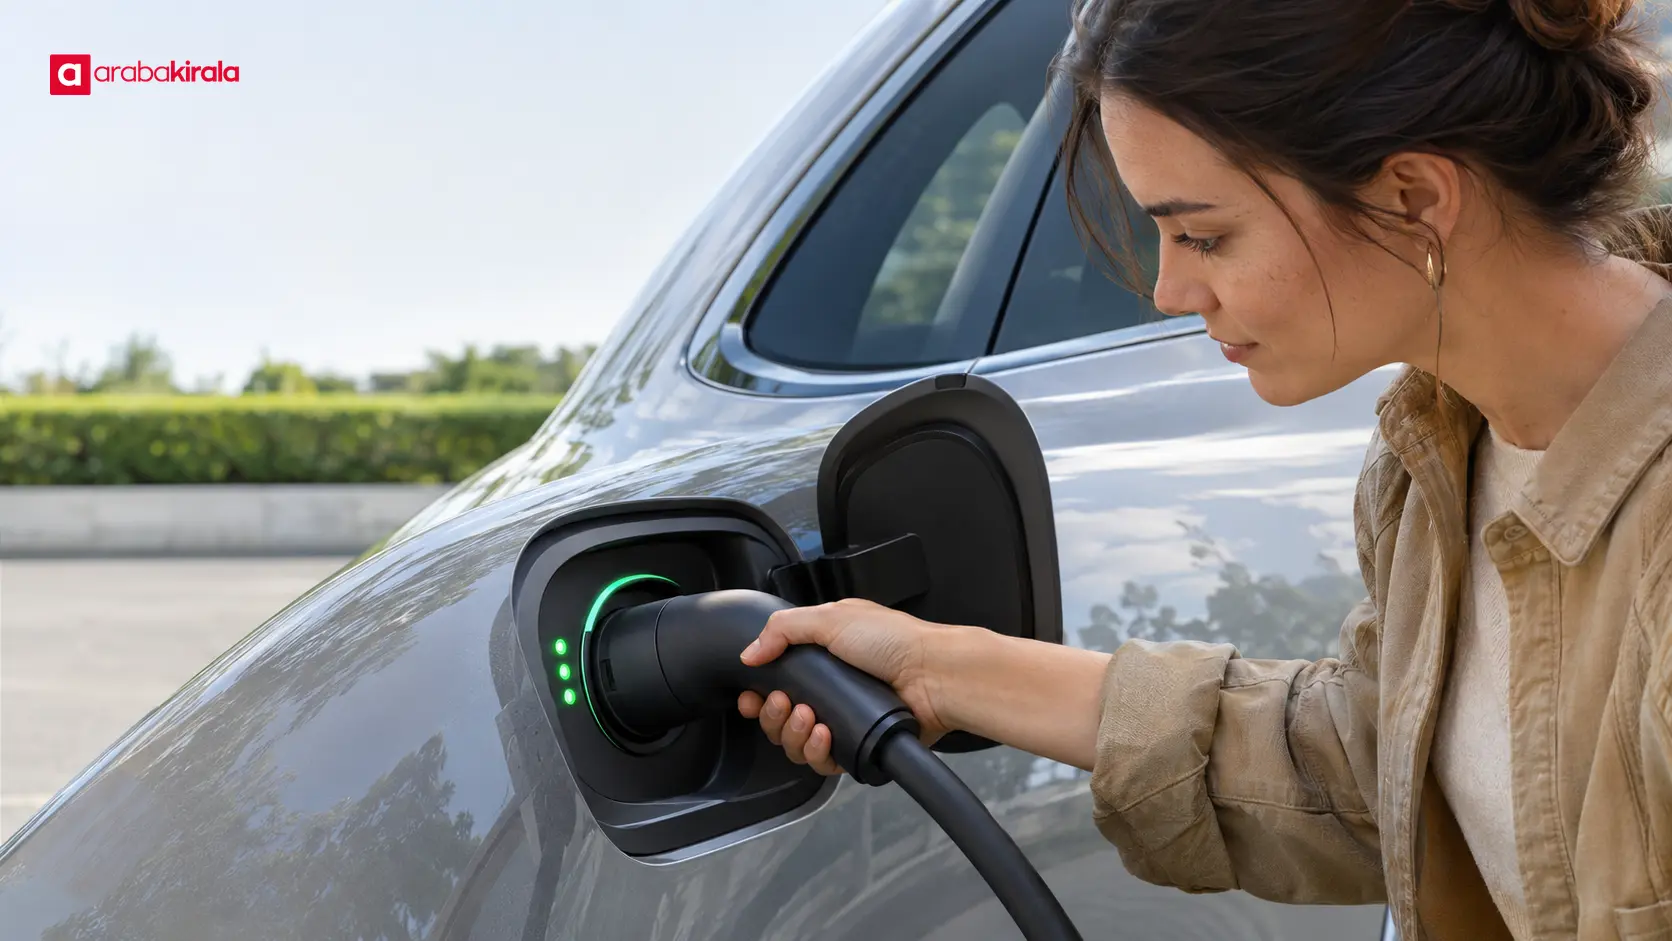
A single light does not tell the whole story. The vehicle, cable, and charging unit can each report a different part of the process. A vehicle may have a light around the charge port, a battery symbol on the instrument panel, or a charging screen showing power flow. A charging unit may use a display, status light, or message. Do not assume that a particular color has the same meaning across all models.
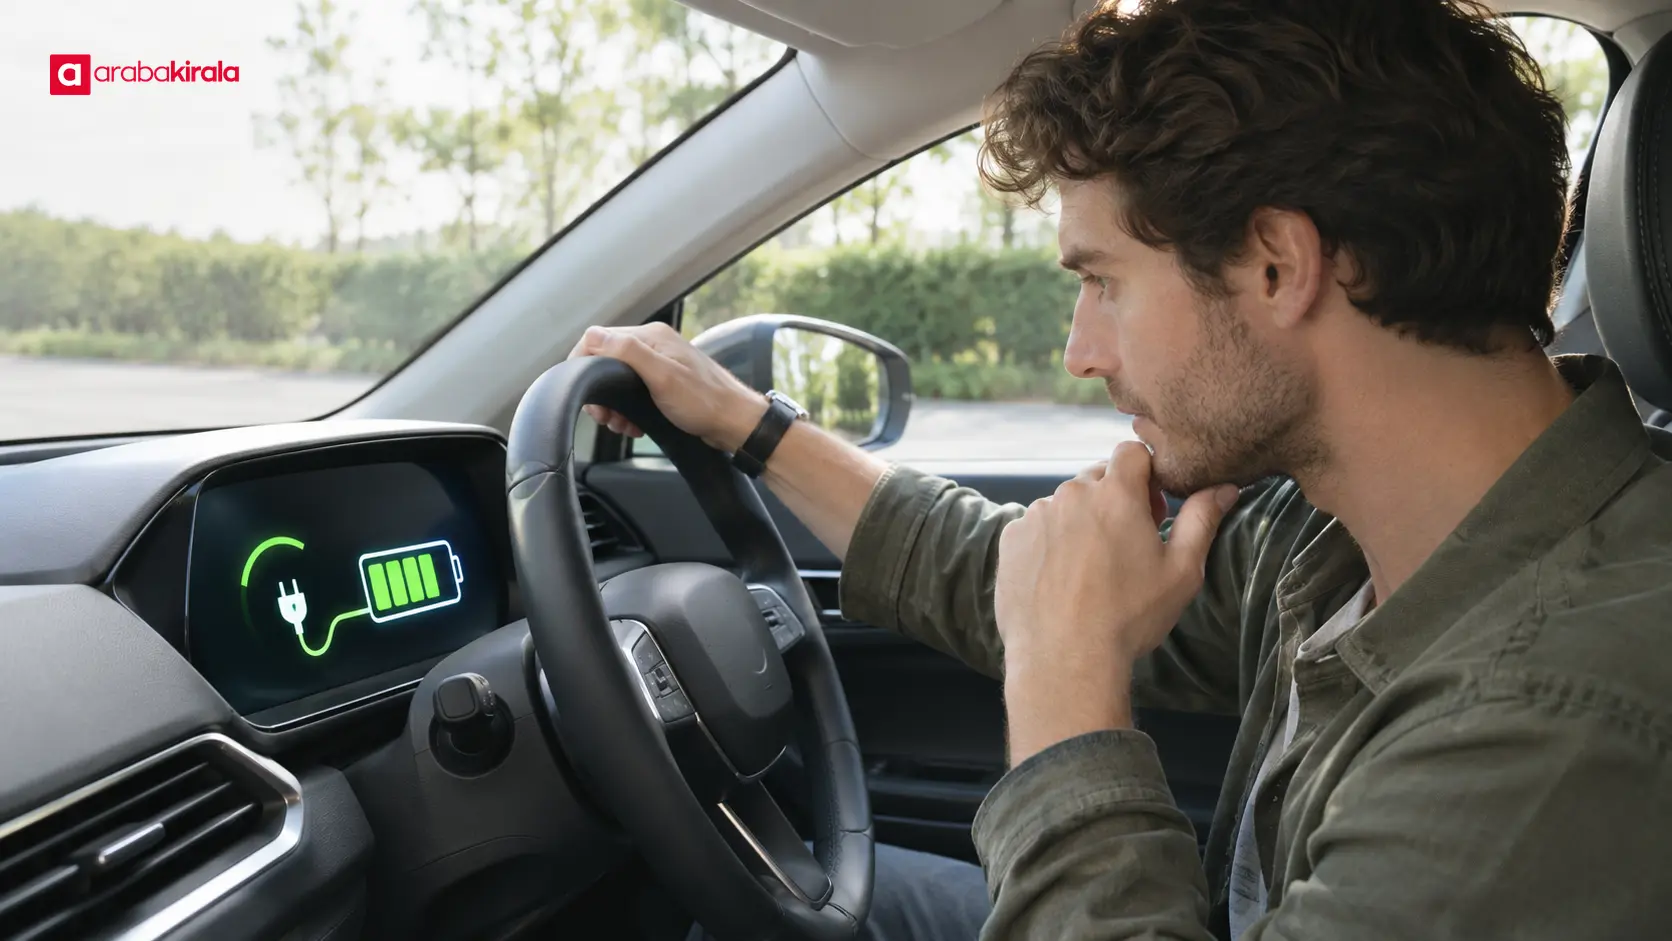
- Vehicle display: A charging symbol, battery percentage, estimated time remaining, or charging power can indicate that the vehicle recognizes the connection and is receiving energy.
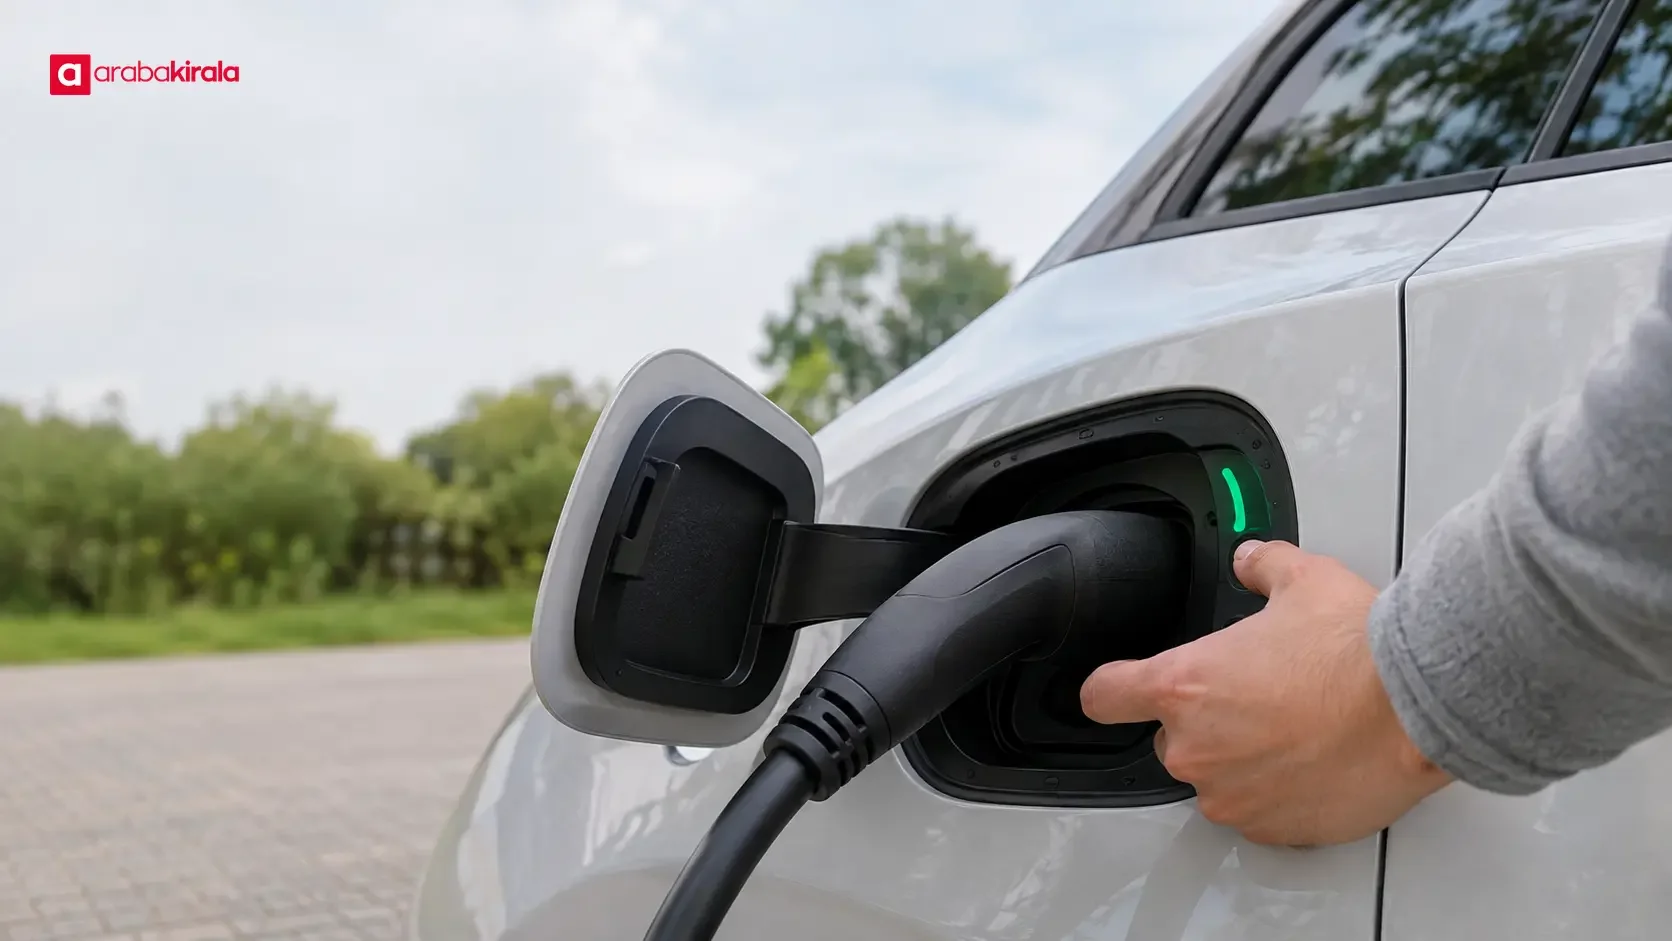
- Charge port light: Depending on the vehicle, it may indicate connection detection, locking, active charging, completion, or a fault. Confirm its meaning in the manual.
- Charger display and lights: These can show that the unit is ready, waiting for a connection, processing a start request, transferring energy, or reporting an error.
- Cable and plug: Check that the plug is fully seated and the cable has no visible damage. A secure-looking plug alone does not prove that charging has started.
Prepare the connection before starting
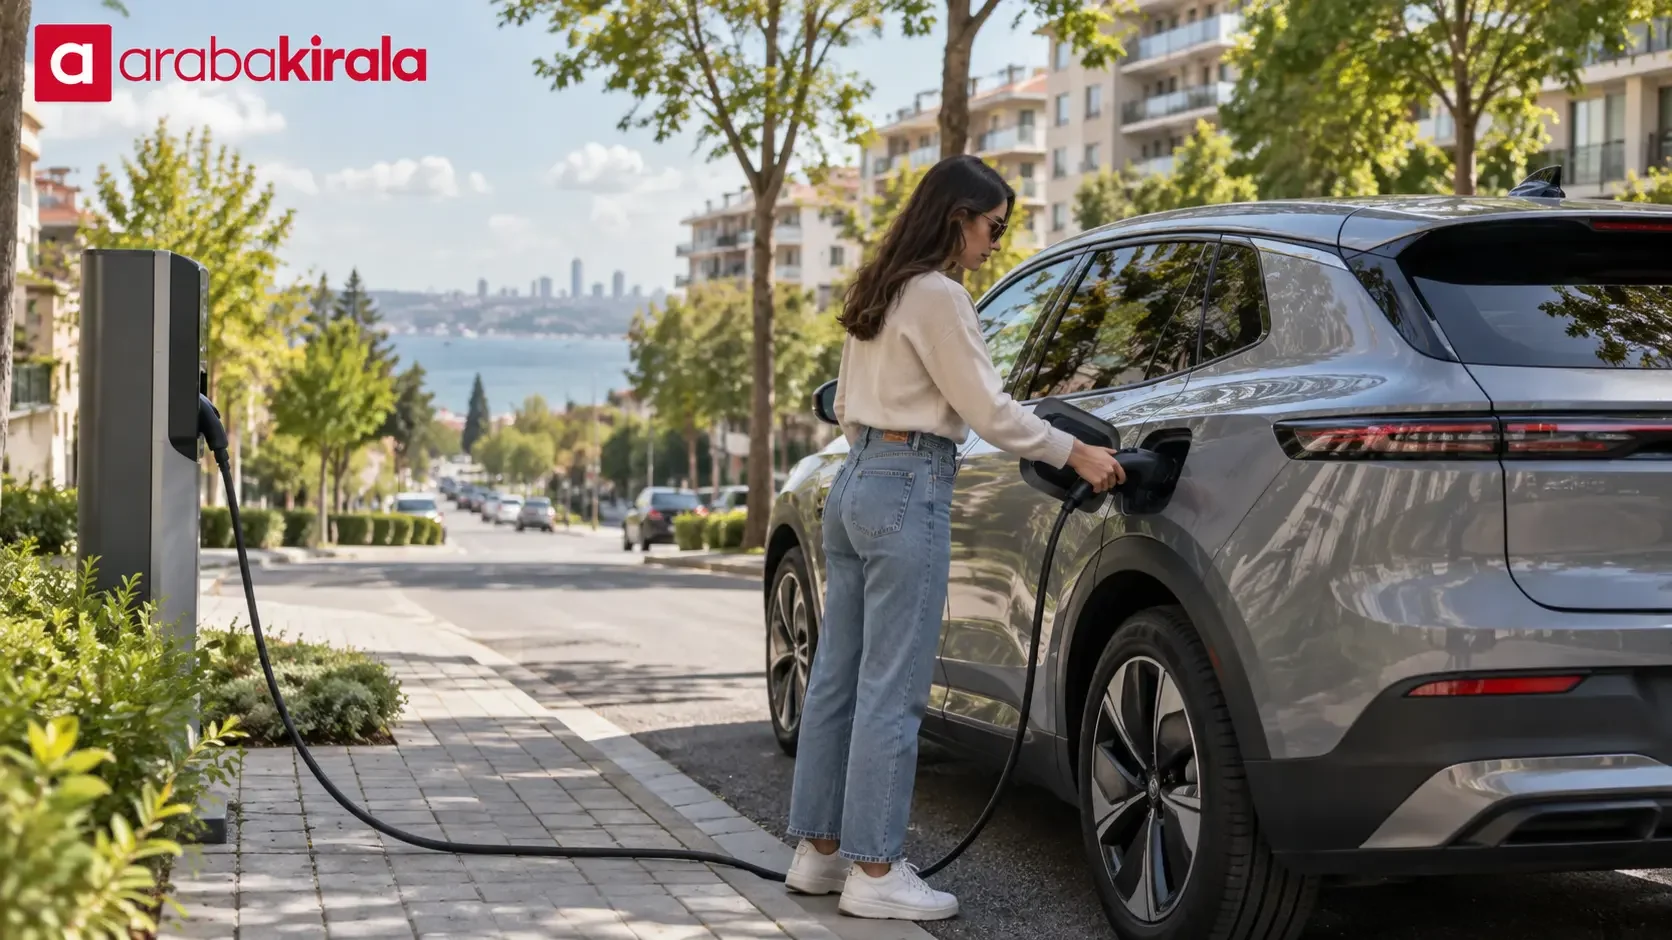
Park in a position that lets the cable reach without being stretched, and check that the plug type matches the vehicle’s charging inlet. The connection type and AC or DC charging method matter. Keep the cable from being pinched or run over. Look for visible damage, dirt, foreign objects, or moisture around the plug and inlet. Do not use damaged or wet equipment, and do not force a plug that does not fit smoothly.
Charging units can use different start procedures. Some require connecting the plug before starting at the unit; others use a different sequence or an authorization step. Follow the instructions on the unit and in the vehicle manual. If the required order is unclear, ask the site operator for guidance.
Steps to watch when starting a session
Park and secure the vehicle. Select park and check that the vehicle is not displaying a warning that prevents charging. Ignition and locking behavior differs by model.
Connect the plug to the correct inlet. Hold the plug body and insert it straight. Make sure it is fully seated; do not twist or push it sideways with force.
Complete the charger’s start step. The screen or status light should show that the connection is recognized and the session has started. If the unit reports an error, read the message rather than tugging at the cable.
Confirm the start on both sides. Look for a charging symbol or energy flow on the vehicle display and an active-session indication on the unit. A connected plug by itself does not mean that energy is flowing.
Check the readings after a short interval. See whether the battery percentage changes over time, whether the charger remains active, and whether the vehicle shows a warning. A percentage that does not change immediately does not by itself prove a fault; display refresh or initial checks can take time. Charger output and battery temperature can also affect the displayed charging rate.
Which readings matter while charging?
Battery percentage gives a broad view of progress. The remaining-time figure is an estimate and can change as charging power, battery level, and temperature change. Instantaneous power may also fluctuate. Treat the time estimate as guidance rather than a guaranteed finish time. For a trip, choose a practical charge target and allow enough margin for the route.
If the unit appears active while the vehicle says charging has not started, compare both displays. Note any error text or code, since it can help when requesting assistance. If you need to retry, first follow the stop instructions shown by the vehicle and unit. Do not pull the plug while power is still being transferred.
How to end a charging session safely
Use the stop function on the vehicle or charging unit first. Wait for a message or status light confirming that the session has ended. If the vehicle has locked the connector, you may need to unlock the vehicle or end the session through its screen. If the plug remains locked, do not force it; follow the normal release steps in the vehicle manual.
Confirm on the vehicle or unit display that charging has stopped.
Check that the connector lock has released, then remove the plug straight.
Gather the cable without dragging it on the ground, protect the connector ends, and return the cable to its designated place if applicable.
Check the vehicle’s final battery level and look for any warning message.
If the plug will not release, do not pull on the cable. Follow the vehicle manual’s standard release guidance and ask the charging-site operator for help. Stop using equipment that is damaged, unusually hot, or making an abnormal sound.
If charging does not start or the indicators conflict
Read the message on the screen first. Check that the charge flap is open, the plug is fully seated, and all charger instructions have been completed. If the connector will not lock or the unit still shows no active session, do not keep forcing the cable. Stop and reconnect only as directed by the vehicle and charger manuals. If the error remains, contact the site operator before trying other equipment.
If the indicators disagree—for example, the charger appears to be supplying power while the vehicle says it is not charging—do not assume the session is working and leave. Record the error text and any code. If you notice unusual heat, odor, sparks, or cable damage, stop handling the connection, keep others clear, and notify the site operator.
Planning charging for a rental EV
Before setting off, ask the branch where you will collect the vehicle about its charging inlet, whether a cable or adapter is supplied with that vehicle, and what battery level is expected at return. These details can vary with the vehicle and rental arrangement. Identifying compatible charging points along your route in advance also makes it easier to plan breaks before the battery is depleted.
At collection, check the battery percentage and any indicator warnings. Before returning the vehicle, check the same displays and clarify any charging expectations with the branch you are renting from. These checks help you plan use of the vehicle; they do not state a particular company rule or service commitment.
Final check and next step
When starting, confirm that the plug is seated, the charger has accepted the session, and the vehicle shows charging. Monitor the battery level and warnings while charging. To finish, stop the session first, wait for the lock to release, and remove the plug without forcing it. Before your first session, review the vehicle manual’s explanations of port lights and locking. For a rental, confirm vehicle and return details with the branch where you will collect it.

Frequently Asked Questions
Why does the vehicle not show charging even though the plug is connected?
Connecting the plug establishes a physical connection, but a charger start step, authorization, or vehicle-side locking may still be required. Follow the vehicle and unit instructions, check that the plug is fully seated, and address any error message.
What does the light around the charge port mean?
Colors and flashing patterns are not universal. Depending on the vehicle, a light may indicate a pending connection, active charging, completion, or a fault. Check the vehicle manual for the correct interpretation.
Why is the battery percentage changing slowly during charging?
The display may refresh with a delay, and charging power, battery level, and temperature can affect the rate of energy transfer. Check the vehicle’s power and warning information. If there is no unusual warning, do not treat an immediate lack of percentage change alone as proof of a fault.
Can I pull out the plug as soon as charging is complete?
First stop the session through the vehicle or unit and confirm that the connector lock has released. Then hold the plug body and remove it straight. If it remains locked, do not force it; consult the manual and the site operator.
What battery level should I leave in a rental EV at return?
The expected return level and related process can vary by rental arrangement. Ask the branch where you will collect the vehicle in advance, and check the battery indicator at collection and return.
Legal Disclaimer: All content, articles and information on the Araba Kirala website are provided solely to inform users. No information shared on this website constitutes definitive advice or guidance. Araba Kirala Teknoloji A.Ş. and its authors cannot be held responsible for any direct or indirect damages arising from the application of information on the website. For all questions and requests regarding car rental, please contact the office from which you will rent your vehicle.