Seasonal Photography Trips: Planning Sunrise, Sunset, and Natural Light
Published: October 31, 2026 • Reading Time: 7 min • Last Updated: October 31, 2026 • Author: Merve B.
Plan a photography outing around the season and available daylight. Learn how to choose sunrise and sunset sessions, build a route, prepare gear, and travel safely.
Contents
- Why natural light changes by the hour
- Choosing a shooting window by season
- Spring and summer
- Autumn
- Winter
- Plan the route and timing together
- Preparing a composition for changing light
- A safe and considerate photography outing
- A practical planning checklist
- Next step: choose one main composition
- Frequently Asked Questions
A seasonal photography trip works best when you plan the light, travel time, and conditions at the shooting location together. This guide explains how natural light changes through the day and across the seasons, how to choose a shooting window, how to build a practical route, and how to stay safe on the way.
Why natural light changes by the hour
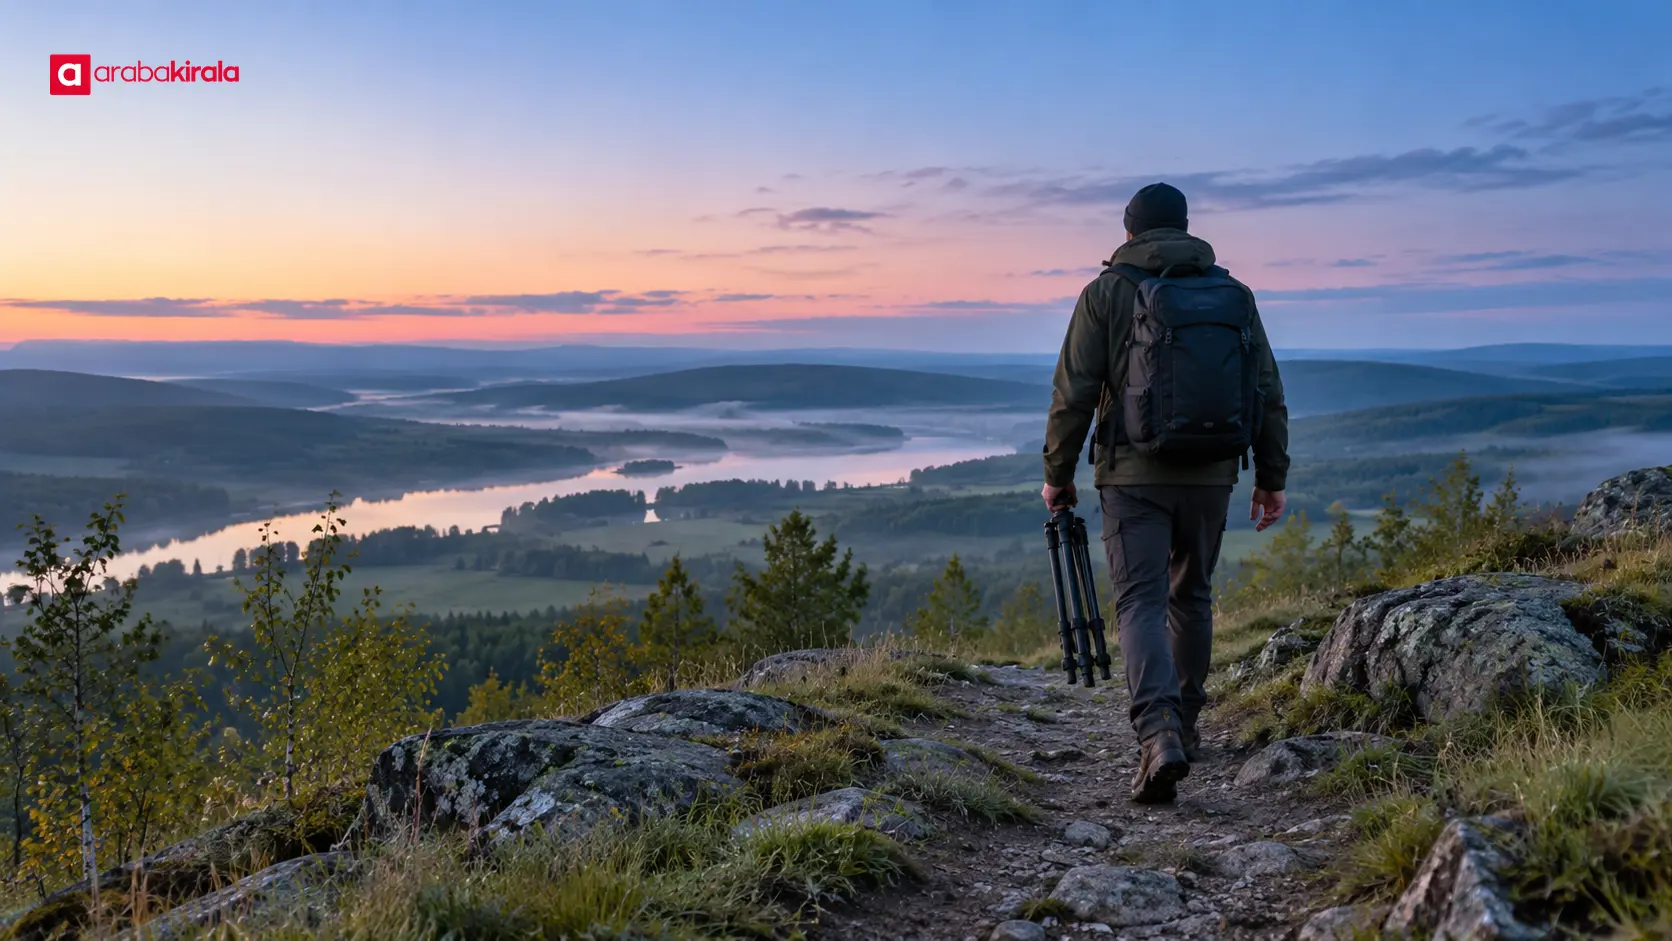
The sun’s position affects the direction, intensity, and apparent color of light. Around midday, sunlight often comes from higher in the sky, creating stronger highlights and more distinct shadows. Near sunrise and sunset, light arrives at a lower angle and can emphasize texture with longer shadows. The colors and brightness around these times vary with location, cloud cover, and weather, so the same scene will not look identical every day.
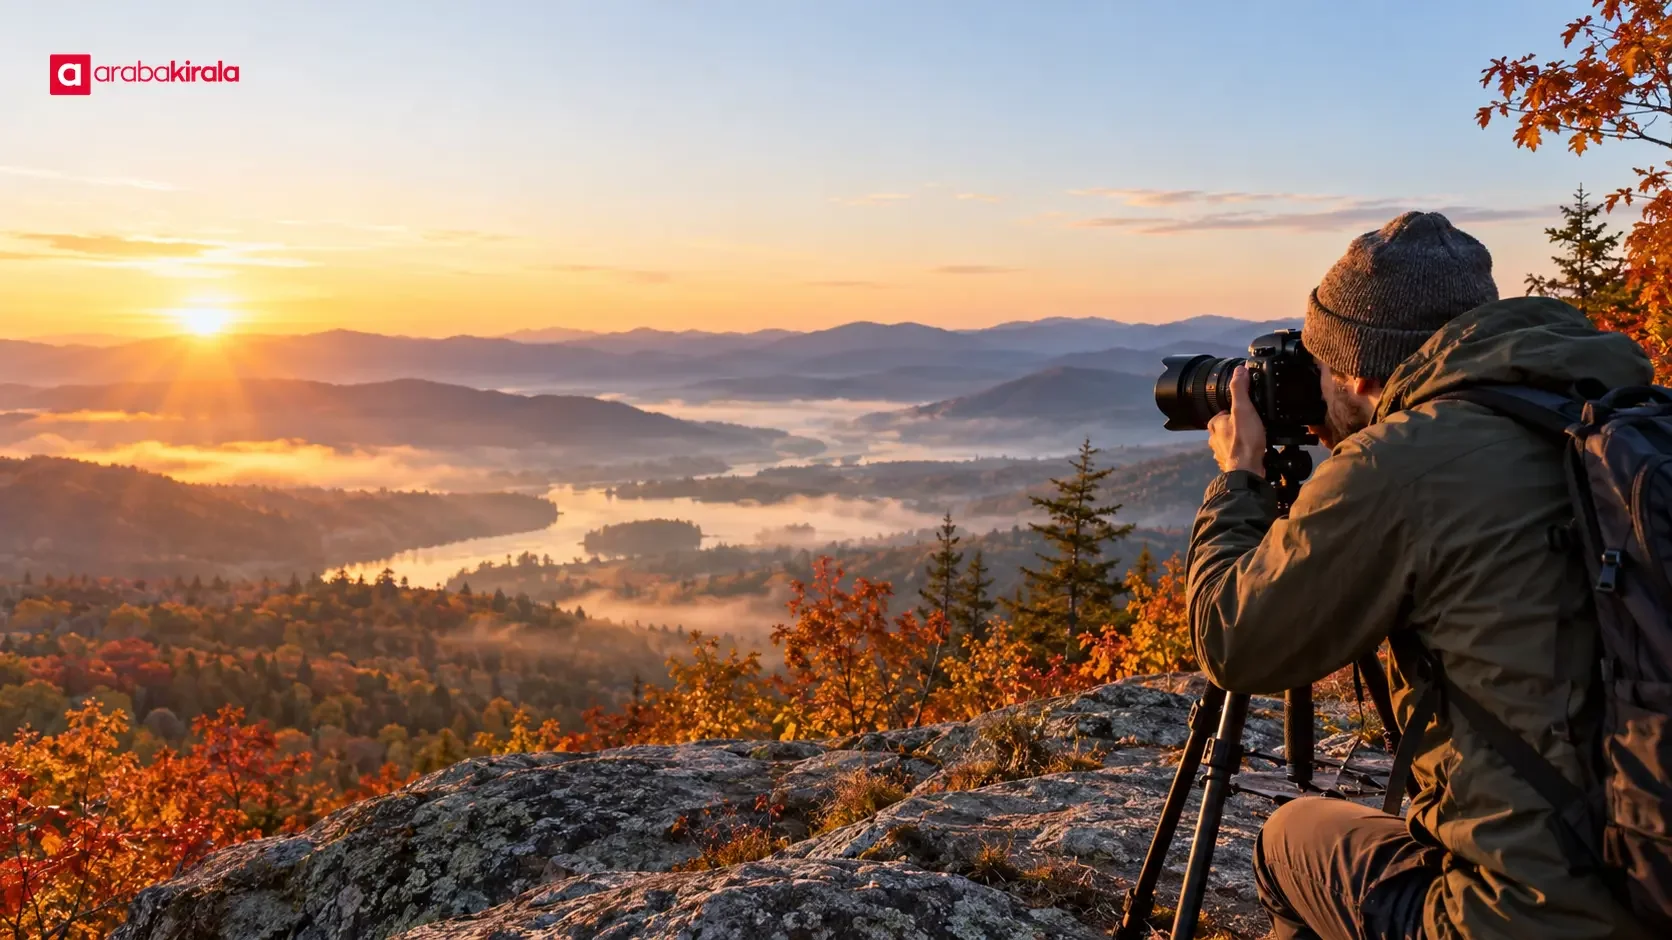
“Golden hour” and “blue hour” are photography terms, not fixed official time periods. Golden hour generally describes the period when the sun is near the horizon and the light may appear warmer. Blue hour refers to twilight when the sun is below the horizon and cooler sky tones can become prominent. Their duration depends on season and location. A warm-toned landscape may suit the period after sunrise or before sunset, while twilight can work well for cooler, quieter tones.
Choosing a shooting window by season
Spring and summer
Longer days can bring an early sunrise and a late sunset. That gives you a broad span of daylight, but it may mean an early start or a late return. In the cool of morning, foliage, water, and soft shadows can become strong subjects. Summer heat and direct midday light can make a long outdoor session tiring. Identify places to rest and find shade; the brightest hours may be better suited to shaded compositions or indoor stops.
Autumn
Changing leaves and a lower sun can create layered scenes in forests and parks. The timing of color changes varies by region, elevation, and weather, so do not count on a particular view appearing on a specific date. Choose several nearby compositions that are reachable with short walks. This gives you options as the light shifts. Prepare for wet leaves, mud, and an earlier loss of daylight.
Winter
Shorter days may put sunrise and sunset at more accessible hours, but cold, wind, ice, and road conditions can affect the plan. Camera and phone batteries may lose charge faster in cold weather, so carry backup power in a warm, secure place. Avoid approaching slippery edges to set up a tripod or compose a shot. Check weather and road conditions before setting out.
Plan the route and timing together
Start by describing the image you want: a horizon, light passing between trees, a reflection on water, or a city silhouette. Consider which direction the light needs to come from for that composition. On a map, examine not only the destination but also parking and a safe walking connection. In coastal, mountain, or rural areas, the vehicle access point may be some distance from the shooting location.
For sunrise, plan to reach the area before the sun appears so you have time to orient yourself and set up without rushing. For sunset, remember that the surroundings will grow dark after the colors fade. Add time for parking, walking, breaks, and delays to your estimated drive. If you have several possible stops, prioritize one main composition and one backup rather than trying to reach every point.
If you plan to rent a car, consider whether the pickup and return locations fit your route. Estimate distance and return time based on your own schedule and access to the photography location. Mileage limits, pickup and return hours, return-location options, and other rental details depend on the reservation and branch. Confirm the specifics with the branch you plan to rent from before building your itinerary around them.
Preparing a composition for changing light
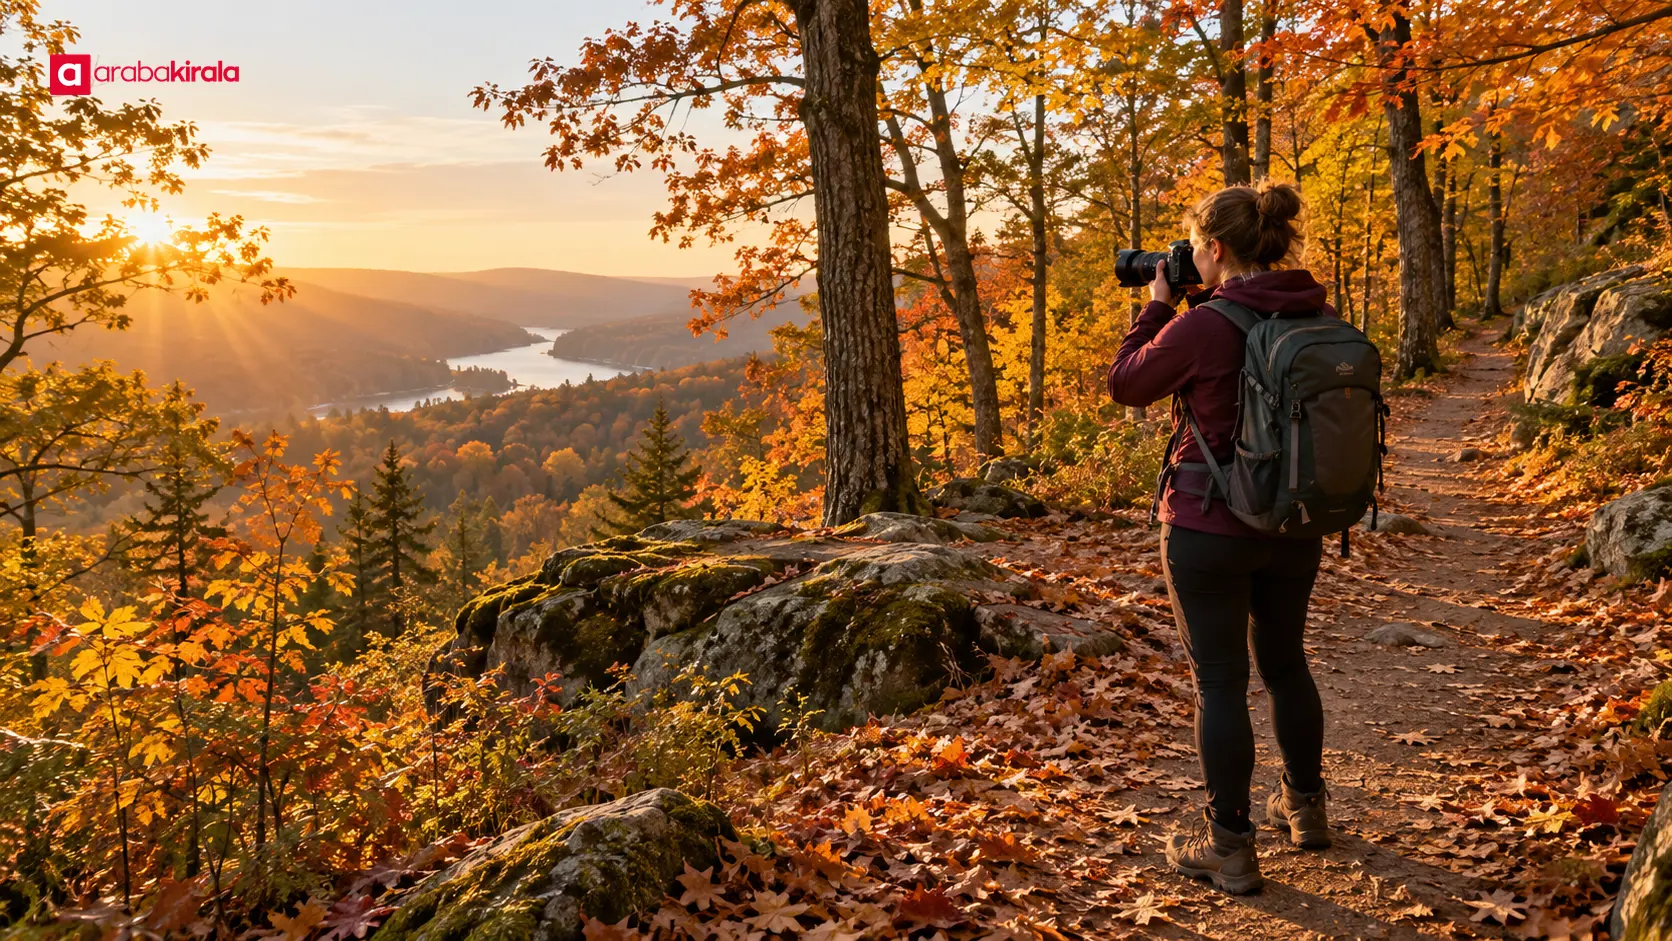
When you arrive, observe the light direction and where shadows fall. Including the sun in the frame can create bright areas; direct light entering the lens may cause flare or reduce contrast. When shooting toward the sun, do not look at it through an optical viewfinder for an extended time. Try the composition with the sun both inside and outside the frame, and keep a safe position as you move.
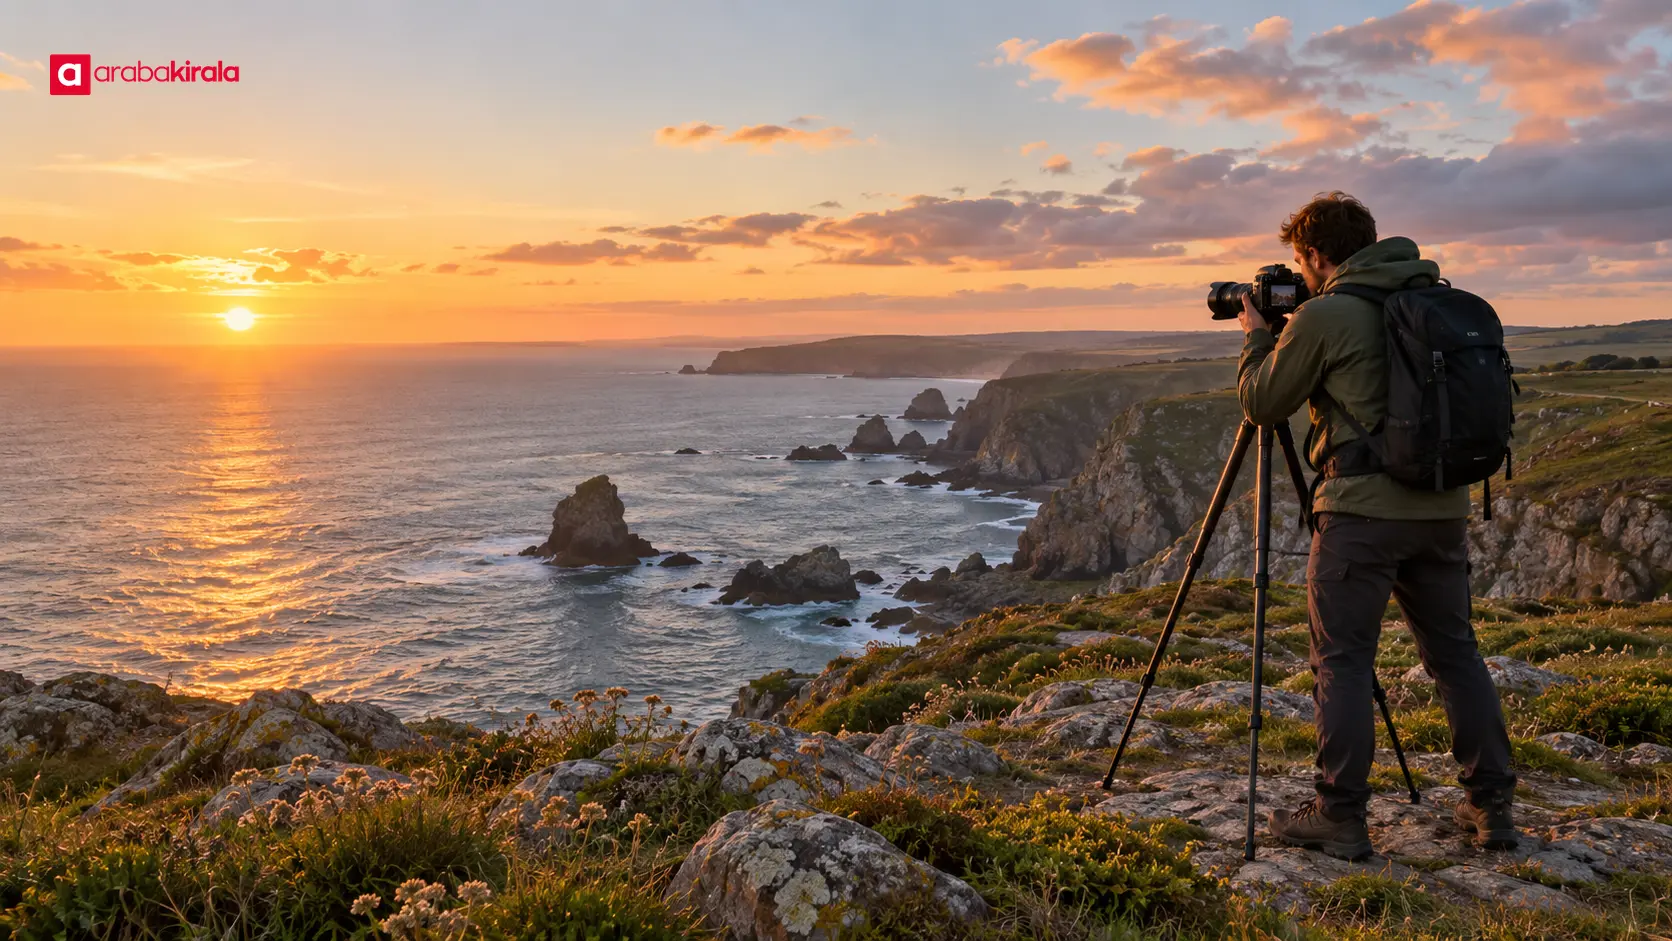
A tripod can help with longer exposures in low light or with repeating the same framing, but it should not block a path and must sit securely on the ground. Wind can make a tripod shake and soften an image. A lighter setup makes a pre-dawn walk easier. A lens cloth, spare battery, memory card, small flashlight, water, and season-appropriate layers are useful basics. Keep the kit focused on the kind of session you plan; unused gear adds weight.
A safe and considerate photography outing
If you begin walking in darkness, use a flashlight and stay on marked paths. Do not put yourself at risk for a photo near a cliff edge, slippery shoreline, railway, or roadway. Follow access rules at private property, protected sites, and places with visitor guidelines. Avoid disturbing plants, wildlife, and other visitors; set up a tripod where it does not obstruct passage.
Fatigue after a long drive deserves particular attention on a nighttime return. Build breaks into the schedule and do not drive when you are too tired to do so safely. If you stop to take a photo, choose a safe, permitted place; an abrupt roadside stop can put you and other road users at risk. Shorten the session if weather worsens, visibility falls, or road conditions become unsafe.
A practical planning checklist
- Define the goal: Landscapes, portraits, wildlife, and city lights call for different light and locations.
- Check local times: Look up sunrise, sunset, and twilight for the date and place of your trip.
- Review conditions: Check clouds, rain, wind, temperature, and road conditions before leaving.
- Plan transportation: Allow enough time for parking, walking, breaks, and the return trip.
- Pack selectively: Prepare batteries, cards, a flashlight, water, and suitable clothing for the conditions.
- Confirm branch-specific details: If renting, ask the branch about pickup and return times, mileage terms, and other details relevant to your itinerary.
Next step: choose one main composition
A rewarding photo outing starts with a plan that lets you work safely in the right light, not with a race to visit as many spots as possible. Choose one main composition that suits the season. Check the direction of light, walking time, and return conditions at that location. Then use the local sunrise or sunset time to organize transport and gear. Weather and road conditions may change on the day, so keep a safe alternative in mind.
Frequently Asked Questions
Is golden hour the same length every day?
No. The length of the period when the sun is near the horizon depends on location and season. Clouds and nearby terrain also affect how the light looks. Check local times for your shooting date and arrive early enough to prepare.
How early should I reach a sunrise location?
There is no single arrival time that fits every place. You may need time to walk from parking, set up gear, and get oriented. Account for trail length and darkness, and allow extra time when visiting an unfamiliar location.
Can I photograph sunrise or sunset on a cloudy day?
Yes. Clouds can soften light or add color and texture to the sky, while dense cloud cover can hide horizon colors. Rather than assuming a particular result, monitor the forecast and observe which parts of the scene are covered.
What should I confirm when renting a car for a photography trip?
Share your planned route, estimated distance, and return time with the branch you plan to rent from. Confirm the mileage terms, pickup and return hours, whether your return location is suitable, and any other details specific to your reservation. This lets you build a travel plan around confirmed information.
How should I prepare for a night drive back?
Include the return time and breaks in your plan, carry a flashlight and suitable layers, and avoid driving while fatigued. If visibility or road conditions deteriorate, waiting somewhere safe or changing the plan may be the better choice.
Legal Disclaimer: All content, articles and information on the Araba Kirala website are provided solely to inform users. No information shared on this website constitutes definitive advice or guidance. Araba Kirala Teknoloji A.Ş. and its authors cannot be held responsible for any direct or indirect damages arising from the application of information on the website. For all questions and requests regarding car rental, please contact the office from which you will rent your vehicle.